Balayage Techniques and Tools
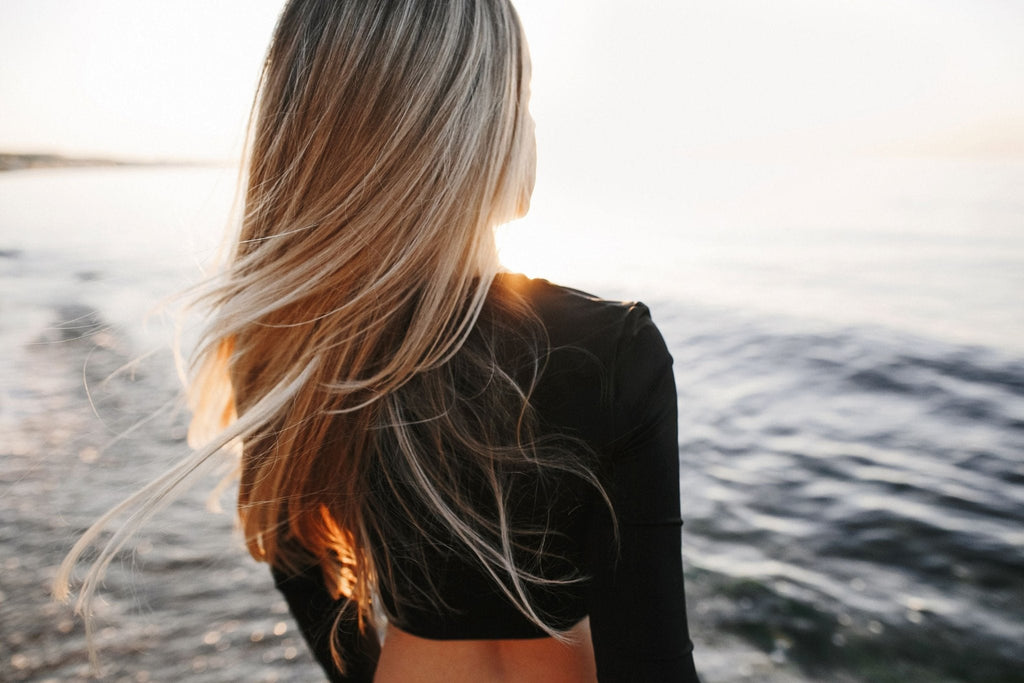
It’s 2025 and the balayage hair trend isn't going anywhere. This natural sunkissed look is as popular as ever, so we’ve gathered up the best techniques and tools for you to create the perfect balayage.

C-Motion
New hair stylists often use stiff motions when learning a new technique, but using smaller strokes can lead to longer service times and harsh demarcation lines. Instead, adopt the "C-Motion" technique, which involves primarily using your arm to make the motion, rather than relying on your wrist, which should remain relatively stationary throughout the process.
To achieve this, simply angle the brush in a way that enables you to apply the product using the body of the brush, and sweep your arm in a crescent shape as though you are painting a C. For this technique, a balayage board may be perfect as a balayage board provides a sturdy surface for balayage and the board features a curved edge that fits comfortably against the scalp, allowing you to paint close to the roots.

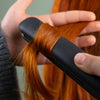
Glide & Slide
The Glide & Slide technique is utilised to achieve optimal coverage and saturation at the ends of a client's hair.
Firstly, you will need to section the hair with sectioning grips, the Framar Gator grips are great for this as they have an expandable middle section to provide the ultimate grip on wet or dry hair. Next, you gently glide the brush loaded with product along the underside of the ends. Then, you rest the hair on your gloved hand and start applying product to the top of the ends. As you apply the product on top, simultaneously slide your gloved hand under the hair, creating a beautiful blur along the length of the hair. We recommend using a Framar power painter brush due to the extra brush surface.
It is crucial to avoid pushing the brush as you work the top of the ends. This action would cause the product to penetrate through the hair and create a harsh line. Instead, applying the product with a gentle touch is key.


Backflip Technique
The Backflip Technique is a great way to create versatile balayage colour. By applying product to the rear sections using this technique, your client can wear their hair up and still showcase the beautiful glow of balayage.
To use this technique, flip the hair up to work on the under section of the rear sections, and apply the product as usual. It's recommended to avoid saturating the hairline pieces heavily to prevent harsh lines, incorporating foils into this technique would also ensure you are protecting any unwanted strands getting lightened in the process.


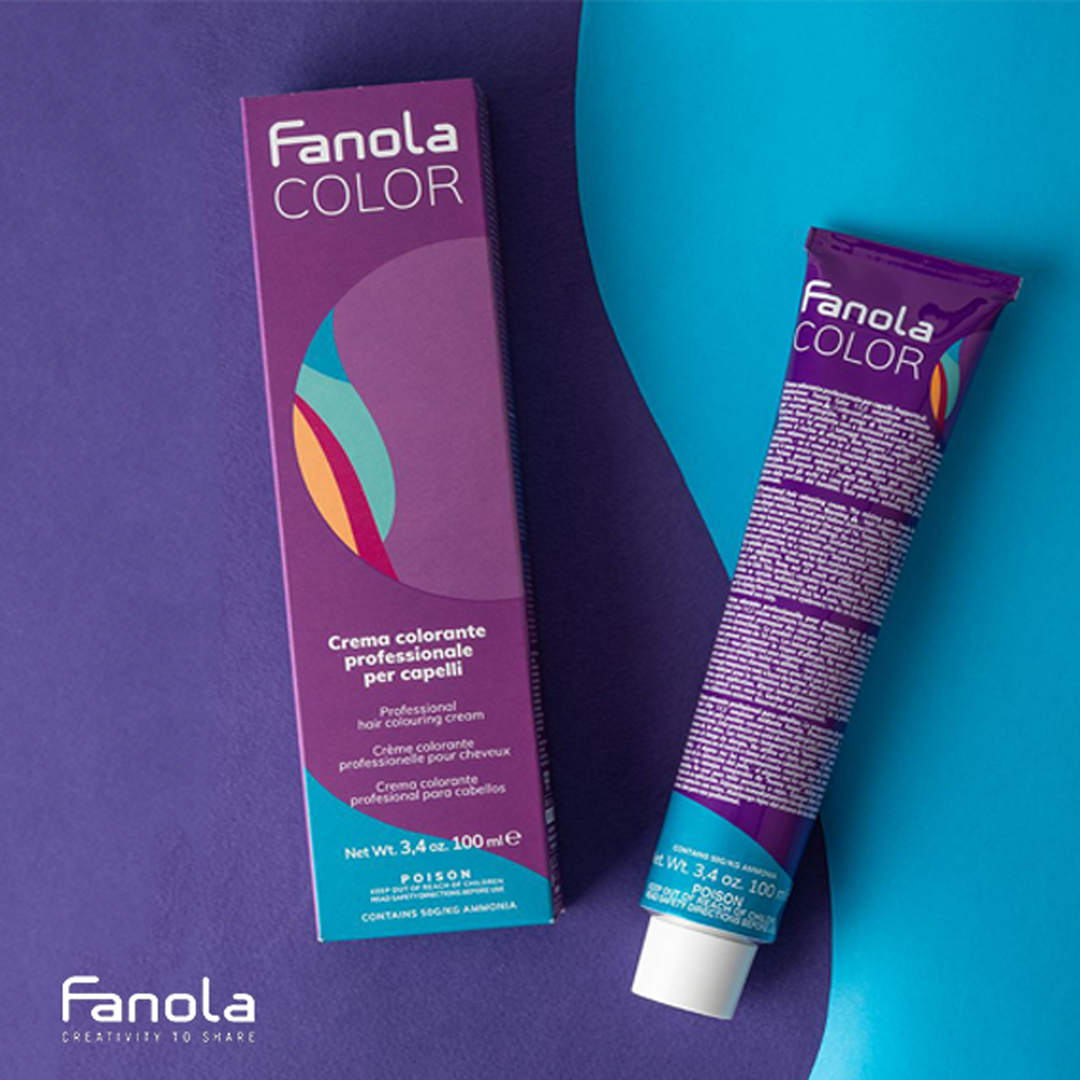
Bleaches
Bleach is a crucial component of the Balayage process. It's important to choose the correct bleach for the different techniques and types of lifts. If a client wants a platinum balayage look, the Fanola No Yellow Violet bleaching cream would be the perfect solution as this bleach contains violet pigments to help neutralise unwanted yellow tones, making the blonde as bright as possible.
For clients with 7-10 level hair, we suggest FarmaVita Omniplex bleach due to the 2 in 1 power and protection with plex technology to help protect and preserve the hair's structural bonds, making sure the hair is not damaged after the bleaching process. For clients with lower-level lifts (5-7), we recommend Fanola green bleach as this helps get rid of red tones during lightning.
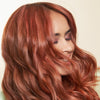
When it comes to Balayage, the possibilities are endless. Whether your client wants a natural-looking blonde Balayage, a rich caramel Balayage or a subtle brown Balayage, having the right tools on hand can make all the difference. In conclusion, by perfecting your balayage technique and investing in the right tools, your balayages are going to look better than ever. 

